 Sudden Valley
 Building New in Cordata Means Building for the Weather You Already Know
If you're framing a new home or an addition in the Cordata area near Sudden Valley, you already know what Whatcom County throws at a house: salt-laden air drifting off the water, long stretches of driving rain, and a moss season that seems to start earlier every year. New-construction windows are one of the few components installed once, sealed into the wall assembly, and then covered by siding and trim for good. There's no easy do-over once the cladding goes on. Getting the window opening, the flashing, and the unit itself right the first time matters more here than it does in drier climates, because any shortcut gets tested by weather within the first winter.
This page is about that one job specifically — installing windows during new construction in and around Cordata — not general window replacement. The two jobs share some vocabulary but almost nothing else about the actual work.
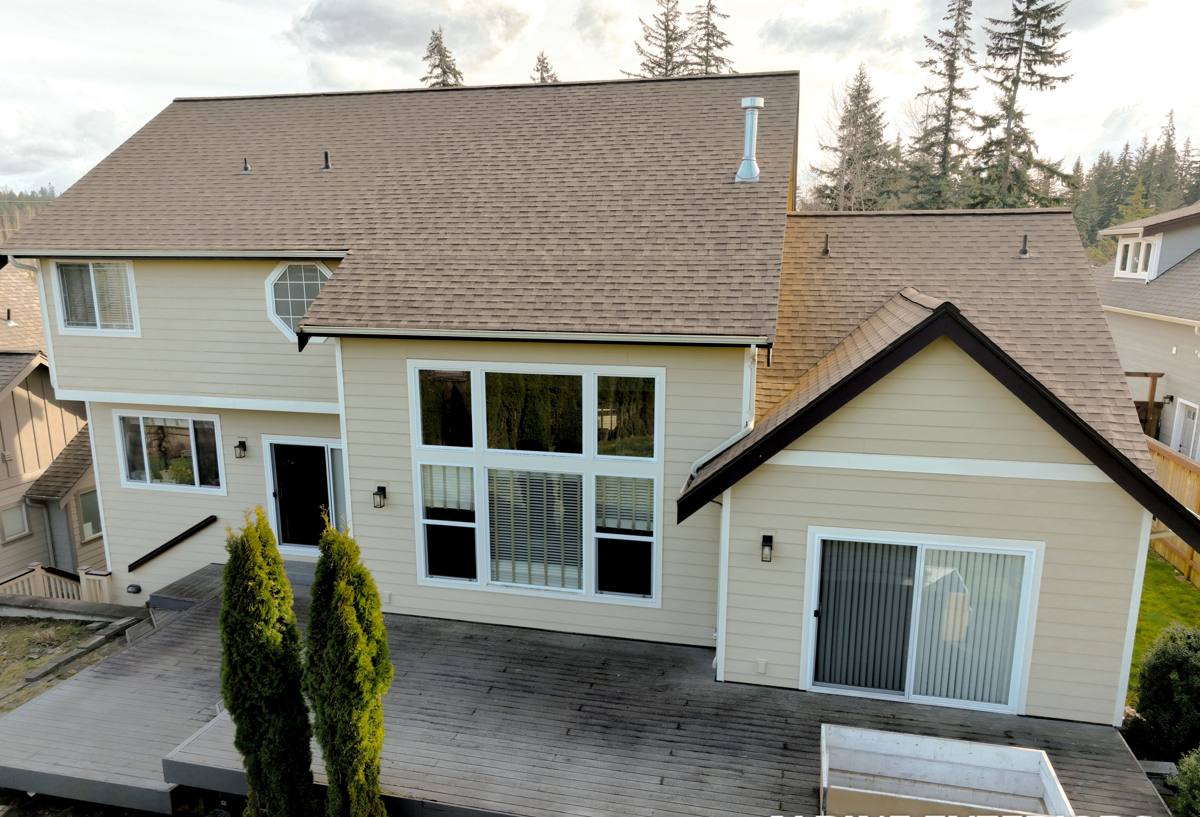
New Construction vs. Replacement: Why the Distinction Matters
New-construction windows are installed into a bare rough opening before siding, house wrap, and trim are finished — usually with a nailing fin around the perimeter of the window frame that gets integrated directly into the wall's weather-resistive barrier. Replacement windows, by contrast, go into an existing finished opening and rely on the surrounding siding and trim staying put. That difference changes almost everything about sequencing, flashing, and how forgiving the install is of small errors.
On a new build, we're not working around existing trim or matching old dimensions — we're setting the standard the house will live with for decades. That's an advantage if it's done correctly, and a liability if it isn't, because the flashing details get buried under siding and won't be visually checkable again without tearing something out.
Why This Matters More in a Marine Climate
In a drier region, a mediocre flashing job might go years before it causes a visible problem. In Whatcom County, with sustained wind-driven rain off the Salish Sea and Lake Whatcom, and humidity that keeps wood assemblies damp for long stretches, a poorly integrated window opening can start showing water intrusion, sheathing rot, or interior staining within a season or two. Moss and algae growth on north- and west-facing walls also tends to hold moisture against the wall longer, which raises the stakes on any flashing detail that isn't fully shedding water outward.
What a Correct New-Construction Window Install Actually Involves
There's a specific order of operations that keeps water moving out and down, never in and up. Skipping or reordering any of these steps is the single most common cause of hidden window leaks in new builds we've been called to open up and repair.
Flashing and Water Management Sequence
- Rough opening is checked for square, level, and correct sizing before anything is installed.
- A sloped sill pan is installed at the bottom of the opening so any water that gets past the window has a path back outside instead of pooling on the sill.
- Self-adhered flashing membrane is applied at the jambs and head, integrated shingle-style with the house wrap so upper layers always lap over lower ones.
- The window unit is set, shimmed level and plumb, and fastened through the nailing fin per the manufacturer's schedule — not just at the corners.
- Head flashing is installed above the window, again lapped correctly with the house wrap above it.
- Gaps between the frame and rough opening are insulated and, where called for, backer rod and sealant are used at the interior air seal — a separate line of defense from the exterior water management.
- Exterior sealant is applied at the final trim and siding tie-in, sized and placed to allow the assembly to drain, not trap water behind it.
Common Mistakes We See in New Construction
- Flashing tape applied in the wrong order, so water gets directed behind the barrier instead of over it
- Sealant used in place of proper flashing instead of alongside it
- No sill pan, leaving the rough opening's raw wood exposed to any water that finds its way past the window
- Fasteners driven through the nailing fin inconsistently, leaving gaps where wind-driven rain can work its way in
- House wrap cut and patched around the opening instead of properly integrated with the window's flashing system
Choosing a Frame Material for a Cordata New Build
The window frame material affects how the unit handles years of damp, salt-tinged air and how much upkeep it will realistically get. There's no universally "best" choice — it depends on your budget, the home's design, and how much maintenance you want to take on.
| Frame Material | Moisture & Salt-Air Performance | Maintenance | Typical Cost Position |
|---|---|---|---|
| Vinyl | Good — won't corrode or rot; seams and welds matter | Low | Most economical |
| Fiberglass | Very good — dimensionally stable, resists warping in wet/dry cycles | Low | Mid to upper-mid |
| Wood-clad | Depends heavily on cladding integrity and joinery quality | Higher — exposed wood needs attention | Upper |
| Aluminum | Prone to condensation and corrosion near salt air without thermal breaks | Moderate | Varies |
Given the salt exposure and rainfall in this area, we generally steer new-construction clients toward vinyl or fiberglass unless the design calls for wood's appearance — and if it does, we're honest about the added maintenance commitment that comes with it. This isn't a knock on any manufacturer; it's about matching the material's real-world behavior to this specific climate.
Our Process, From Framing to Final Trim
We coordinate closely with your builder or general contractor so window installation lands at the right point in the schedule — after rough framing and house wrap, before siding closes everything in.
- Site walk and rough opening review against the window schedule and shop drawings
- Verification of sizes, swing directions, and glazing packages before units arrive
- Sill pan and flashing installation per the sequence above, on every opening, every time
- Window setting, leveling, and fastening to manufacturer specification
- Interior air sealing and exterior flashing tie-in
- Final walkthrough with photos of flashing details before siding covers them
- Coordination hand-off to your siding crew (or ours, if we're doing both) so nothing gets covered before it's checked
That documentation step matters more than it sounds. Once siding goes up, nobody — including us — can visually verify flashing again without removing material. Photographing the flashing sequence before cover-up gives you a record of exactly what's behind your walls.
Why Timing With Your Builder or GC Matters
New-construction window work doesn't happen in isolation. It has to land between framing/house wrap and siding, and it has to account for whatever roofing, deck, or porch details tie into the same wall planes. On a Cordata build, we also plan around the wetter months — scheduling exterior openings to stay covered or protected during active rain windows keeps sheathing dry and keeps the install on schedule instead of getting pushed by weather delays. If you're managing your own build or working with a GC, loop us in early so window lead times and flashing sequencing don't become the bottleneck.
Before Install Day: A Practical Checklist
- Confirm final window schedule (sizes, operation type, glazing) matches what's ordered and what's framed
- Confirm house wrap is installed and lapped correctly at all rough openings
- Confirm rough openings are square, level, and sized per manufacturer tolerance
- Confirm sill pan flashing is part of the install scope, not assumed or skipped
- Confirm who documents flashing before siding covers it, and that you'll receive that record
- Confirm interior air sealing and exterior sealant are both scoped — they solve different problems
Why a Crew That Already Works Cordata Is Worth Choosing
A lot of window installation problems in this region trace back to methods that work fine in a drier climate but weren't adjusted for sustained wind-driven rain and salt exposure. A crew that regularly works Sudden Valley and the greater Whatcom County area has already seen which flashing details hold up here and which ones don't, has relationships with local building departments on inspection expectations, and understands how the moss and moisture cycle here affects exterior assemblies over time. That local pattern-recognition is hard to substitute for, no matter how good a crew is in general.
If you're planning a new build or addition in the Cordata area and want windows installed correctly the first time — with the flashing details documented before they disappear behind siding — we're happy to walk the plans with you and provide a free, no-pressure estimate. There's a form below to get that conversation started.