 Sudden Valley
 Building It Right the First Time in Happy Valley
Happy Valley sits inside the broader Sudden Valley area of Whatcom County, close enough to Lake Whatcom and the marine air moving in off Bellingham Bay that window details matter more here than they do further inland. When a house is framed and the rough openings are cut, the windows that go into those openings set the tone for how the whole building envelope performs for the next 20-30 years. Get the flashing sequence, the sizing, and the frame material right at new construction, and you avoid the callback list that shows up five or ten years later on homes where windows were treated as an afterthought.
This page covers new-construction window installation specifically — new openings in new framing, not swapping a window into an existing wall. If you're building an addition, a shop with living space, or a full custom home in Happy Valley, this is the service and the reasoning behind how we approach it.
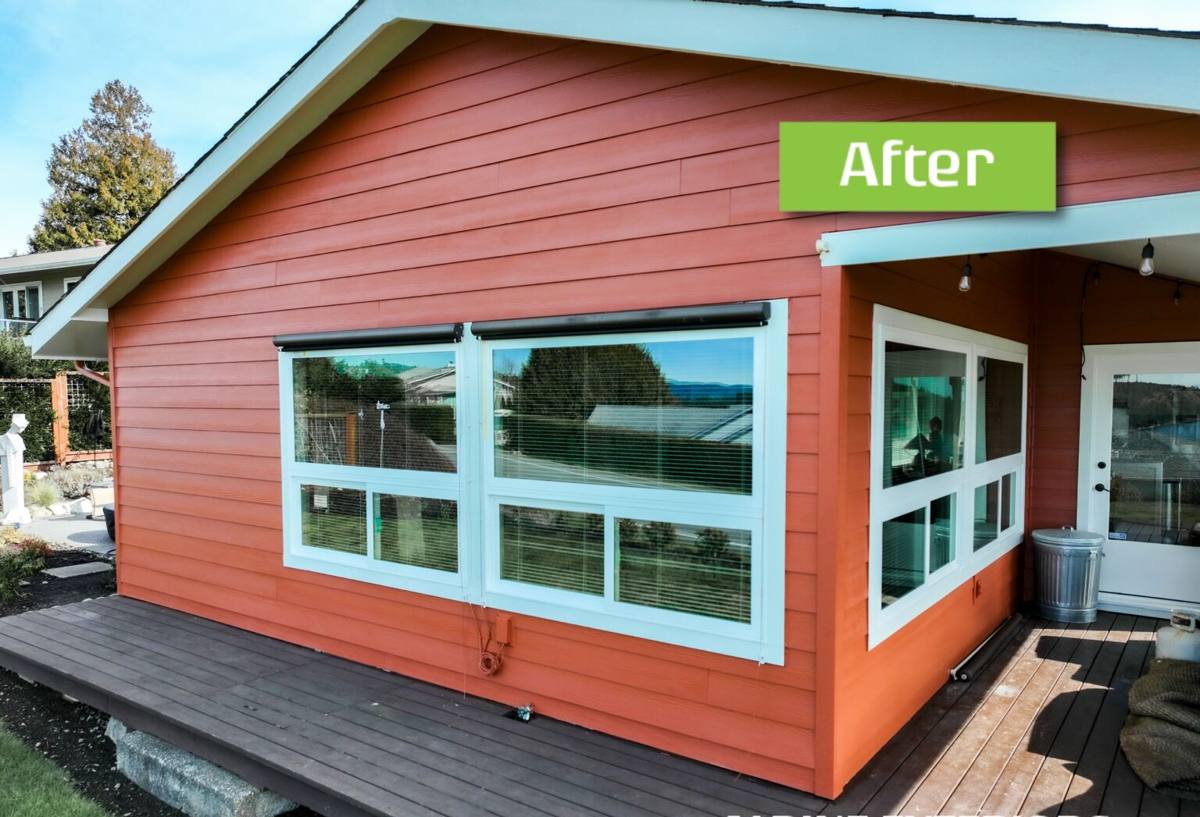
New-Construction vs. Replacement: Why the Distinction Matters
New-construction windows have a nailing fin (sometimes called a flange) built into the frame that gets fastened directly to the sheathing and integrated with the house wrap and flashing before siding goes on. Replacement windows — sometimes called pocket or insert windows — are sized to fit inside an existing frame with no nailing fin, because the surrounding wall, trim, and siding are already finished and staying put.
Using the wrong type in the wrong situation is one of the most common ways window problems get built into a house. A new-construction window installed correctly, with its fin integrated into a proper drainage plane, is the strongest and most weathertight option available — which is exactly why it's the standard for new builds and additions in a climate like ours.
What This Means for a Happy Valley Build
- Rough openings need to be framed slightly larger than the window unit, with a consistent margin all around for shimming and flashing
- The sheathing and house wrap need to be in place — or at least staged — before windows go in, not after
- Sill pans should be installed under every window before the unit is set, regardless of overhang or orientation
- Nailing fin fasteners need to hit framing, not just sheathing, at the spacing the manufacturer specifies
What the Local Climate Asks of a Window
Whatcom County doesn't get the coastal storms that hammer the outer Washington coast, but Sudden Valley and Happy Valley still deal with three things that wear on windows over time: salt-tinged marine air moving inland from the Sound and the Strait, driving rain that hits west- and south-facing walls at an angle rather than straight down, and a long moss and mildew season that runs from fall through spring on anything that stays damp and shaded.
None of those factors are dramatic on their own, but stacked together over years they punish sloppy flashing details and low-grade hardware. A window that's watertight on a dry install day can still fail three winters later if the sill pan wasn't sloped to drain, or if the corner seals at the nailing fin weren't lapped correctly.
Where This Shows Up in a New Build
- West and south exposures take the brunt of wind-driven rain — these openings deserve the most careful flashing attention, not the least
- Shaded north walls and tree-covered lots (common around Sudden Valley) stay damp longer, which is where moss and algae take hold on sills and trim first
- Hardware and fasteners exposed to marine-influenced air benefit from corrosion-resistant coatings rather than bare or mill-finish metal
- Sill design matters more here than in a dry climate — a sill that doesn't shed water quickly stays wet longer between rain events
Frame Material Options
There's no single "best" frame material for every new-construction window — it depends on budget, exposure, and how much upkeep the homeowner wants to take on. Here's how the common options compare for a build in this climate:
| Material | Moisture Behavior | Maintenance | Typical Cost Position |
|---|---|---|---|
| Vinyl | Won't rot; performs well if drainage is designed properly | Low — occasional cleaning | Most economical |
| Fiberglass | Dimensionally stable, holds paint/finish well in wet-dry cycling | Low to moderate | Mid to upper range |
| Aluminum-clad wood | Exterior sheds water well; interior wood needs a sound seal to avoid moisture intrusion at joints | Moderate | Upper range |
| Bare wood | Attractive but the most exposure-sensitive; needs consistent exterior protection | Highest | Varies, often upper range |
For most new builds in Happy Valley, we steer homeowners toward vinyl or fiberglass on weather-exposed elevations simply because they hold up with the least ongoing attention in a climate that stays damp for a good chunk of the year. Wood and clad-wood units still have a place — especially where the look matters on a covered porch or protected elevation — but we're upfront that they come with a higher maintenance commitment, not because the product is inferior, but because bare or lightly protected wood asks more of the homeowner in a wet climate.
The Installation Details That Actually Prevent Leaks
Most window failures we get called to inspect on newer homes trace back to two or three missed steps during the original install — not a bad window. The window itself is rarely the problem; the flashing sequence around it usually is.
The Sequence We Follow on Every Opening
- Frame the rough opening to the manufacturer's specified tolerance — too tight and the unit can't be shimmed square; too loose and there's nothing solid to fasten to
- Install a sloped sill pan with the drainage plane lapped correctly at the corners, before the window ever touches the opening
- Set the window plumb, level, and square, shimming at the manufacturer's recommended points rather than just the corners
- Fasten the nailing fin into solid framing at the spacing called for by the manufacturer — under-fastening is a common shortcut that shows up later as movement and gapping
- Flash the sides and head in the correct shingle-lap order so water moving down the wall is always directed over the layer below it, never under
- Integrate the flashing with the house wrap or weather-resistive barrier so the whole wall drains as one system, not a window plus a wall that happen to be next to each other
- Seal and caulk only where the manufacturer specifies — over-sealing a nailing fin can trap moisture instead of letting incidental water drain back out
That sequence is not unique to Happy Valley — it's the correct method anywhere — but the consequences of skipping steps show up faster and more visibly in a climate with this much sustained moisture. A wall assembly that would tolerate a shortcut in a dry inland climate has much less margin for error here.
Our New-Construction Window Process
We work new-construction window installs as part of the overall building envelope, not as an isolated trade item, which matters because window flashing has to integrate with the house wrap, the siding, and the trim details that come after it.
- Plan review: we look at window schedules and rough opening sizes before framing is finalized, so there are no surprises when units arrive
- Opening prep: we verify each rough opening is square, correctly sized, and that sheathing and house wrap are staged and ready
- Sill pan and flashing installation: done before the window is set, on every opening, regardless of overhang or exposure
- Window setting: plumb, level, square, and fastened to spec — checked, not assumed
- Integration with siding and trim: we coordinate window flashing with whatever siding system is going on the house so the drainage plane is continuous from window to wall to trim
- Final walk-through: operation, seals, and visible flashing details reviewed before we consider the opening finished
What Drives the Cost
New-construction window pricing depends on more than the window unit itself. The honest answer is "it depends," but here's what actually moves the number:
| Factor | Why It Matters |
|---|---|
| Frame material | Vinyl is generally the most economical; fiberglass and clad-wood cost more up front |
| Glass package | Double vs. triple pane, low-E coatings, and gas fill all add cost and change energy performance |
| Size and configuration | Large fixed units, custom shapes, and multi-unit combinations cost more than standard operable sizes |
| Number of openings | Per-unit cost typically drops slightly on larger orders due to labor efficiency |
| Exposure and access | Second-story or hard-to-scaffold openings add labor time |
We'd rather walk a homeowner through these trade-offs on-site with the actual plans in hand than throw out a number that doesn't hold up once the real openings and exposures are known.
Why Local Experience Matters for This Work
Whatcom County's building code and inspection expectations, the way Sudden Valley and Happy Valley lots sit relative to tree cover and prevailing weather, and the realities of a long wet season aren't things you pick up from a manufacturer's install manual alone. A crew that's already worked new-construction windows in this area has seen which elevations take the worst of the driving rain, which lots stay shaded and damp longest, and where a slightly better sill detail or fastener spec is worth the extra step.
That local pattern recognition is the difference between a window install that passes inspection and one that's still performing well a decade in, after several wet Whatcom County winters and a full moss season's worth of freeze-thaw and dampness cycling.
If you're framing a new build or addition in Happy Valley or elsewhere around Sudden Valley, we're happy to walk the plans with you and give a straightforward, no-pressure estimate on the window package and installation. Use the form below to get started.