 Sudden Valley
 New-Construction Windows in Yew Street: What This Job Actually Covers
When we say "new-construction windows," we mean something specific: windows installed into a framed rough opening before the siding and trim go on, using a nailing flange set directly against the sheathing and weather-resistive barrier. That's different from a replacement or "pocket" window, which gets inserted into an existing frame after the old unit is pulled. If you're building new on Yew Street, finishing an addition, or replacing windows down to the studs, this is the install method that applies to you — and it's the method that gives you the best shot at a genuinely weathertight wall for decades, not just years.
New-construction work is less forgiving than a retrofit in one important way: there's no old frame to hide behind. Every layer — the sill pan, the flashing tape, the flange fastening, the sealant joints — is exposed and has to be done in the right order. Get the sequence wrong and you won't see it until water starts showing up inside a wall cavity, sometimes years later.
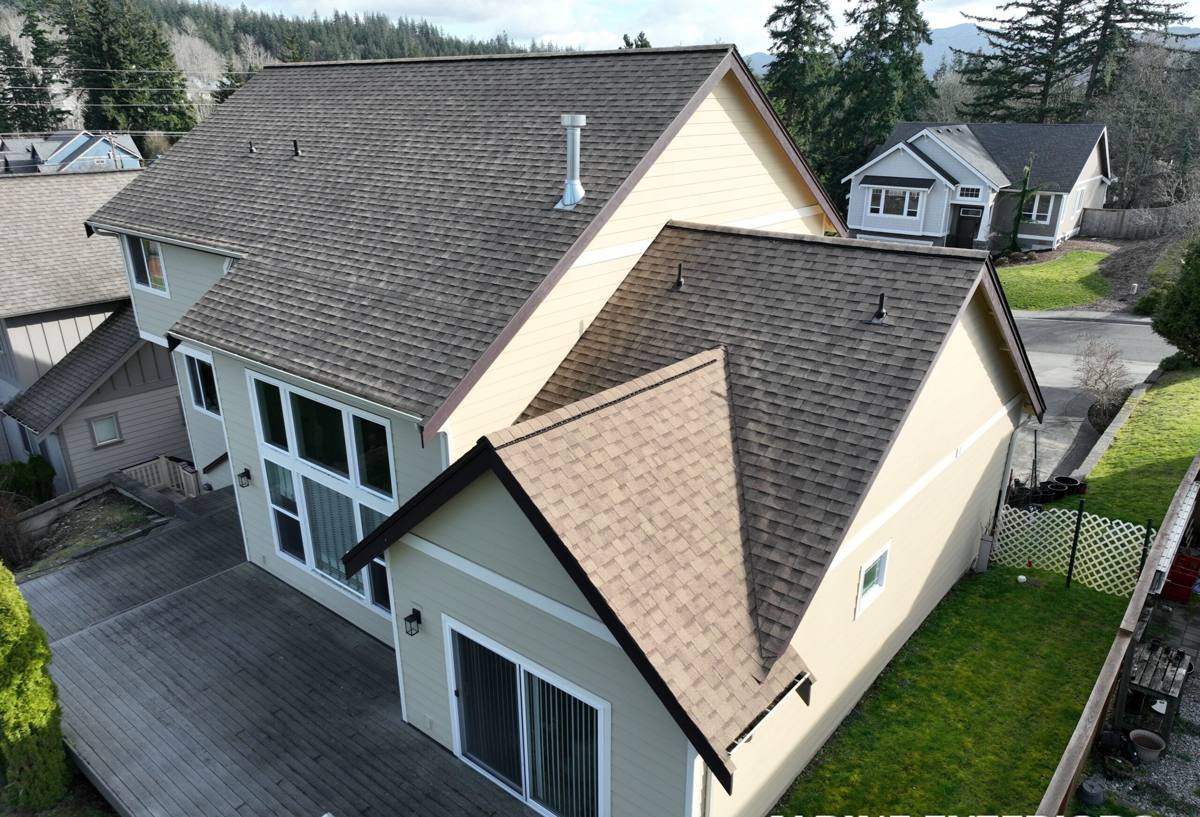
Why Sudden Valley's Climate Makes This Job Different
Sudden Valley sits inside Whatcom County, close enough to the water and the marine air pattern that salt exposure, wind-driven rain, and a long wet-and-shaded moss season are all real design loads on a house — not abstract concerns. A window installed the same way you'd do it in a dry inland climate will underperform here.
Salt air
Airborne salt accelerates corrosion on exposed fasteners, hardware, and lower-grade metal flashings. It doesn't ruin a window overnight, but over 10–15 years it will find every weak point in the metal components if they weren't chosen and installed with that exposure in mind.
Driving rain
Wind-driven rain doesn't just fall on a window — it gets pushed sideways and upward into any gap in the flashing sequence. This is the single biggest reason new-construction installs fail here: a sill pan that wasn't sloped or sealed correctly, or a flange that was taped in the wrong order relative to the WRB.
Long moss season
Shaded, north-facing walls and roof-to-wall transitions in this part of the county stay damp for extended stretches in fall, winter, and spring. Moss and algae growth around window trim and head flashing isn't just cosmetic — sustained moisture at those joints is exactly what breaks down sealants and paint over time, so drainage detailing matters more here than it would in a drier climate.
What a Correct New-Construction Install Requires
There's a specific order of operations that keeps water moving out and away from the wall assembly, never in. On every Yew Street job we treat these as non-negotiable:
- A sloped, sealed sill pan at the rough opening — water that gets past the window has somewhere to go besides the framing
- Weather-resistive barrier integrated with the window flange using proper flashing tape, lapped shingle-style so upper layers overlap lower ones
- Corrosion-resistant fasteners appropriate for coastal-influenced air, not generic interior-grade hardware
- Backer rod and a compatible sealant at the interior and exterior joints — not just caulk smeared over a gap
- Head flashing installed last, over the top flange, so it sheds water onto the WRB below rather than behind it
- Proper shimming and fastening so the frame isn't racked, which affects both operation and the long-term seal at the corners
Skip or reorder any one of these and the window can look perfect for a year or two while a slow leak works on the framing behind the trim.
Choosing the Right Frame for a Yew Street Build
Material choice matters more here than in a dry climate, because whatever you pick has to handle sustained moisture exposure and occasional salt-laden wind without degrading. Here's how the common options stack up for this specific setting:
| Frame Material | Moisture/Salt Performance | Maintenance | Typical Fit for This Area |
|---|---|---|---|
| Vinyl | Good — won't corrode or rot, but can be brittle if flashing is done wrong and water intrudes | Low | Common, cost-effective choice for most new builds here |
| Fiberglass | Excellent — dimensionally stable, resists moisture and salt air well | Low | Strong option for exposed or wind-facing elevations |
| Wood-clad (metal or vinyl exterior) | Good on the exterior face, but any breach in the cladding exposes wood to rot risk in this wet climate | Moderate — cladding needs to stay intact | Works if the install and finish detailing are precise |
| Bare aluminum | Vulnerable to corrosion and thermal performance issues in coastal-influenced, wet climates | Higher | We generally steer clients away from this here — not because it's a bad product everywhere, but the maintenance burden and corrosion exposure don't make sense for this specific climate |
None of these are wrong answers on their own — the mismatch happens when a frame material and its finish aren't matched to how much sustained moisture and salt exposure a given elevation actually sees.
How We Approach a Yew Street New-Construction Window Job
1. Site and elevation assessment
Before we order a single window, we look at which walls face prevailing wind and rain, which stay shaded and damp longest, and where moss and algae tend to establish on the existing structure or neighboring homes. That tells us where to upgrade flashing detail or frame material beyond the baseline.
2. Rough opening prep
We check every rough opening for square, level, and correct sizing before the window ever shows up on site. Fixing framing issues before the window is set is fast; fixing them after is a teardown.
3. Sill pan and flashing installation
Sill pan first, sloped to the exterior, sealed at the corners. Then the WRB and flashing tape integration in the correct shingle-lap order — side flanges before head flange, head flashing last.
4. Setting and fastening the window
Shimmed plumb, level, and square; fastened per the manufacturer's schedule with corrosion-resistant hardware; operation checked before we move to sealing.
5. Interior and exterior sealing
Backer rod and sealant at the interior air seal, and a compatible exterior sealant joint that's flexible enough to handle seasonal movement without cracking.
6. Final inspection
We check operation, look for daylight or gaps around the frame, and confirm the flashing lap sequence before trim and siding close everything in — because once the siding's on, that flashing work is no longer visible or fixable without removing finish materials.
Mistakes We See Most Often on New Builds in This Area
Most window leaks we're called out to diagnose trace back to a small number of repeatable errors, usually made under time pressure during framing or siding install:
- Flashing tape applied in the wrong order (head flange taped before the sides, so water runs behind the tape instead of over it)
- No sill pan, or a flat/unsealed one that just holds water at the sill instead of draining it
- Generic caulk used in place of a proper backer rod and sealant joint, which fails faster under repeated wet-dry cycling
- Fasteners that aren't rated for coastal-influenced air, leading to early corrosion and a loosened flange
- Trim and siding installed too tight to the window frame, trapping moisture instead of letting it drain and dry
- Skipping manufacturer-specific installation instructions in favor of a generic "how we've always done it" approach
What Drives Cost on a Job Like This
| Factor | Why It Matters |
|---|---|
| Number and size of openings | More or larger openings mean more flashing detail, labor, and material |
| Frame material | Fiberglass and wood-clad typically cost more upfront than standard vinyl |
| Elevation exposure | Wind- and rain-facing walls may warrant upgraded flashing membranes, which adds labor time |
| Access and staging | Second-story or difficult-access openings take longer to flash and set correctly |
| Timing with other trades | Coordinating window install with framing and siding crews affects scheduling but not doing so correctly is what causes callbacks |
We won't quote a job without seeing the actual openings and elevations — anyone who gives you a firm number over the phone for new-construction window work is guessing.
Why a Crew That Already Works Yew Street Matters
New-construction window performance is decided during install, not at the manufacturer. A crew that regularly works Sudden Valley homes has already seen how this specific mix of salt air, wind-driven rain, and moss-season dampness plays out on real walls here — which elevations need extra flashing attention, which frame materials hold up, and which shortcuts cause callbacks two or three winters later. That local pattern recognition is worth more than a lower bid from a crew installing the same way they would in a dry inland market.
Caring for New Windows After Install
A correctly installed window still benefits from basic upkeep in this climate:
- Rinse accumulated salt residue and grime off frames and glass periodically, especially on wind-exposed elevations
- Keep gutters and downspouts clear so roof runoff isn't dumping extra water onto window heads
- Watch for moss or algae buildup on trim and sills and clean it off before it holds moisture against the finish
- Re-check exterior sealant joints every few years — sealant is a wear item, and catching a cracked joint early is far cheaper than dealing with the water damage it eventually causes
If you're planning new-construction windows for a home or addition in Yew Street, we're happy to walk the site, look at your rough openings or framing plans, and give you a straightforward, no-pressure estimate. There's a form below — reach out and we'll get you scheduled.